1988 SSR EX-C Fins.. and whats left after 25 years of wear-and-tear!
Introduced ~1984, and alongside the EX-C Mesh was produced through to the 90's.
Other models were intoduced under the EX-C name over the years (EX-C Neo, Scope,), but the Fin and Mesh type EX-C's were the original two.
These wheels are original 4x100, 14x6 +40, full reverse, complete and unrestored. Because of the high offset, these are the 'full reverse' style - and as a result technically have the standard 15" face.
..So.. reverse means that the face is mounted in what would be the back of the barrel, then full reverse as its the biggest face that could possibly fit.
These also happen to be in the gaudiest of colour combinations available: white with the polished face, gold fasteners, gold cap, etc. Very loud.
After all these years, the plates (the metal disc with the text, sandwiched under the cap) are covered in paint chips and scratches..
..the clear and then gold plating is wearing off the caps..
..while it is very nearly gone of the bolts around the outer rim.
Light grazing to the edge of the old 14" barrel here..
..and more crazed clear and flaking paint on the face here.
Amazingly the barrel sticker has survived under the tyre all this time. Production date of september 1988..
..while the faces were cast 6 months before; in March 1988.
Late days for the older style of Speed Star Wheel spec decal seen here.
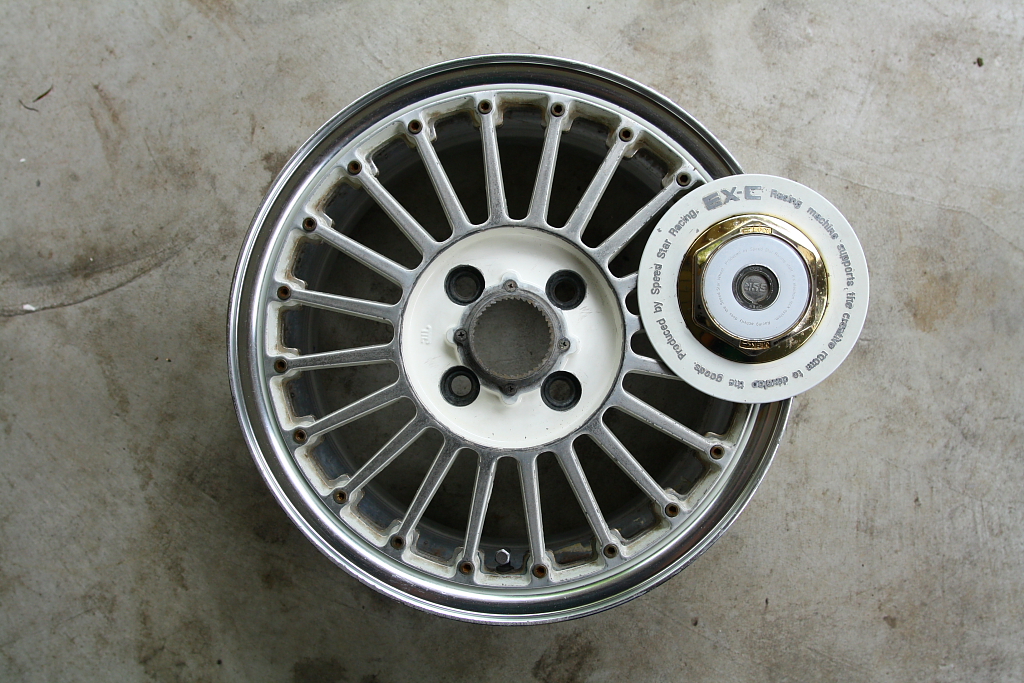
Cap unscrewed off the collar.
being a high offset wheel; it gets the shorter of the two caps available.. the 'FF' caps. This includes the smaller (as well as obviously shorter) collar seen here.
A somewhat time consuming task - all 80 nuts and bolts removed.
Removing the faces may
or may not involve me driving a 1.5m 100x100 length of wood down onto the back of the wheels.. as though I'm genuinely trying to smash them to pieces..
Now.. lets focus on the caps...
The tools for the job.
On the rear of the cap, the two main screws are removed.
Picking tool into the sliding lock slot, and gently pry it up.
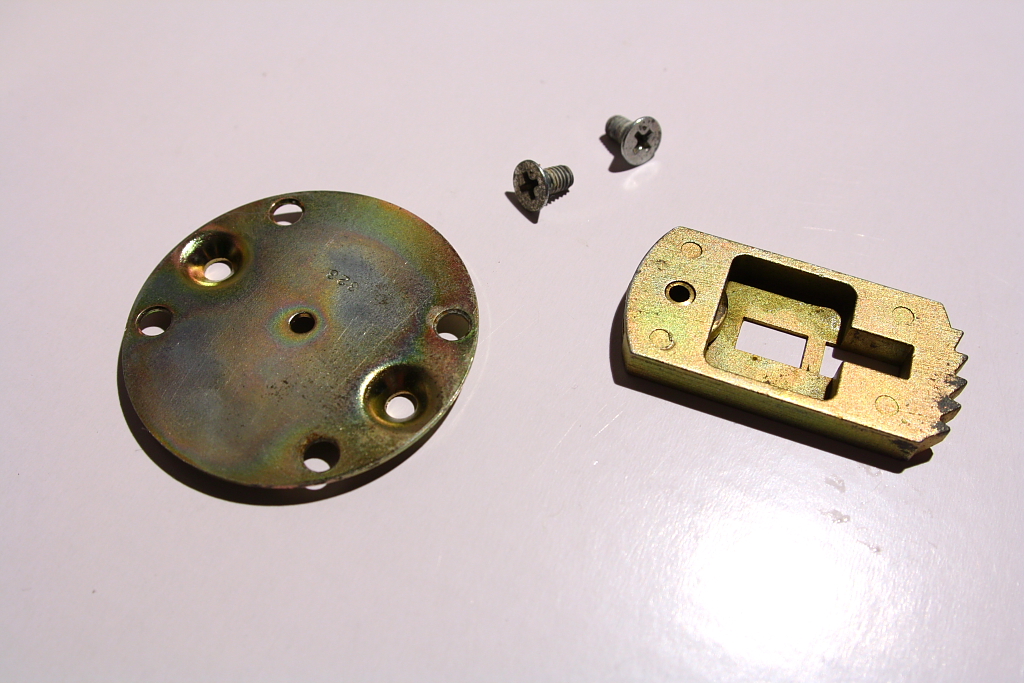
Rear cover removed.
Sliding bar lock removed. Its the teeth on the end of this part, that lock into the matching teeth on the inside of the threaded collar pictured above.
Out comes the hair-dryer.
The locking slide was removed to make it easier heat the whole lock up.
So, after holding the hair dryer on the back of the cap for a minute or two...
..the center should simply fall off..
..completely unharmed!
Next up, a drill to separate the cap from the locking mechanism.
The rivets are drilled where they flare over the cap. I don't want to drill these out any more than necessary, as I will leave them there to help in holding the lock in position when re-assembled.
A hole-punch to knock the locking mechanism out.
And separated.
The cap is now ready to go off and get re-plated.
Closeup of the locking mechanism.
..a quick polish, just to make it look a little nicer.
The complete cap assembly.
The complete wheel assembly. Yep, laying this out was worth the effort..!
Okay, now, to give a little more attention to the lock mechanism itself. I love this system.
Back cover, slide, and slide spring already removed.
The rusted cam in the centre turns anticlockwise (looking at it from the back) when the lock is turned. This lets the spring push the slide across, and into the teeth on the collar.
There's probably a better way to remove these, but the small silver disk holds the centre pin over the cam. I pick it up with a small screwdriver, then pull it off with a pair of pliers. It doesn't matter how much you bend this part up - a simple thwack with a hammer makes it ready to pop back on.
Cam removed. You can now see a small ball-bearing sitting on a spring, which helps the lock sit in the 'lock' and 'open' positions - to click into place.
The cam on the back side of the lock mechanism body is what holds the lock centre in place. Once removed, it is free to come out from the front.
The lock centre, exploded. magnets and springs laid out.
Now.. re-keying the lock, and reassembly..
All parts cleaned with WD40/RP7/similar, and ready to go back together.
Try to push the lock centre back into the main body without the magnet (key) behind it, and the magnets will jump onto the main body before the centre gets into place.
..So interestingly, to get the lock back together you will need a key. Not only the original key, but
any key.
Put the lock centre on top of a key, put the three springs in place, then the magnets after the springs. Keep flipping the magnets until they all sit flat and pulled towards the centre as in the picture above.
If at this point
another key is swapped in place, the magnets will jump away from the centre. When assembled, this drives the magnets out into the slots on the front of the lock body.. preventing the lock from turning.
Its the three small magnets that are the linch-pin of the locking assembly. Turn it hard enough to shear these, and the lock would turn.
Onto the back again.
Spring and ball bearing into place, then cam pushed back onto the centre pin.
Put the flattened cam retainer back on, a 1/4" socket over the top of that, and then tap with a hammer.
Simple.
Turn the lock to 'close'.
Put the roller and pin back into the slide part, then the slide back into the main lock body, and then the spring pushed into place.
Another shot of the final assembly with the rear cover removed.
Rear cover pushed over the pins, then screws in.
All done, and super smooth to turn! Very nice..
Faces will be powder-coated full white, caps will be chrome with black detailing, black fasteners, and 15x6.5 +32 barrels.
In the style seen here - bottom row, second from the right. Something different.
But this is all yet to be finished..
..so.. for the time being - this
is
to be continued...


 ..And back to the front.